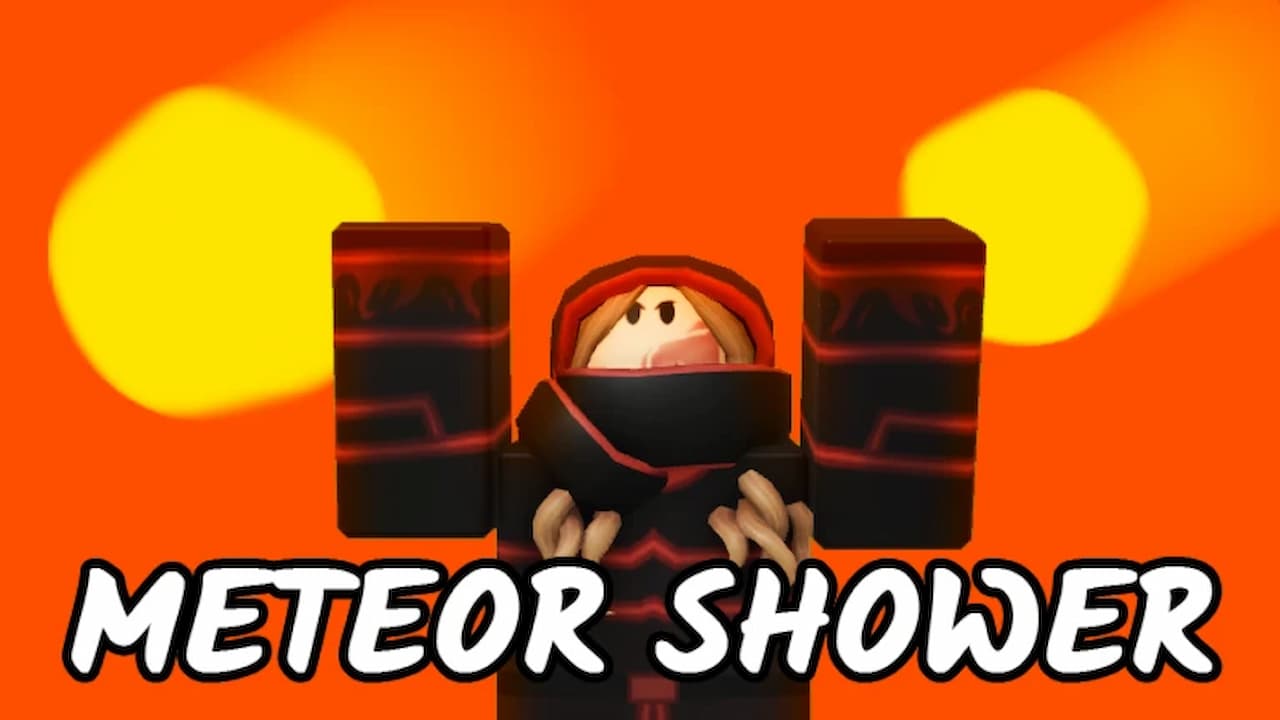
Finally, the Meteor Update is here! If you’ve been waiting for something new to do in 99 Nights in the Forest, this event is a solid reason to jump back in. There are four new badges to earn, and honestly, they’re a lot of fun once you know what you’re doing. Let me walk you through it step by step so you can knock them out without getting lost or frustrated.
99 Nights in the Forest Meteor Update Guide
Step 1: When the Sky Catches Fire
You’ll know the event has started because the game literally says “the sky is on fire,” and then meteors start slamming into the map. The first thing you should do is open your map. Look for a red anvil icon. That’s the Meteor Anvil building you’ll need later. Then check for the crash site markers. Those are where the meteors landed and where you’re heading first.
Step 2: Mining the Meteors
Grab your axe and head to a crash site. The meteors look like glowing rocks and you just smack them until they break. They drop gold shards and meteor shards so pick everything up. Seriously, don’t drop them in lava. They just vanish if they fall in and that’s pain you don’t need. You need to break 25 meteors total for one of the badges, which sounds like a lot but you’ll be hitting plenty while you play.
Step 3: Meteor Crabs
Okay, these guys are sneaky. They hide around the crash sites and blend in pretty well so sometimes you don’t even see them until they’re already hitting you. My advice is to clear the crabs first before mining anything so you’re not getting smacked while trying to collect shards. You only need 20 kills for the badge so you’ll probably finish this one without even trying.
Step 4: The Obsidian Stuff
This part was the trickiest for me. Some crash sites have these special rocks that look different from the normal meteors. When you break them, you get obsidian ore. Pick it up, throw or drop it to break it open, then take it to hot liquid to melt it. After that, dunk it in water to cool it down and boom, you’ve got obsidian ingots.
I’m not going to lie, this part feels a little buggy sometimes. When I tried it the first time, it didn’t work until I repeated the process. But once you have the ingots, take them to the anvil and craft the obsidian chest blueprint. That’s how you get the badge for opening an obsidian chest.
Step 5: Repair the Anvil and Craft Stuff
When you get to the Meteor Anvil building, you’ll see it’s all busted up. First kill the crabs hanging around it, then look for the three missing pieces and put them back. Once it’s fixed, you can use the crafting bench inside. You need to craft 25 things here to get the last badge. Luckily there’s some cool stuff you can make, like axe upgrades, armor upgrades, obsidian boots, and, of course, that obsidian chest blueprint.
Some Advice Before You Go
Clear the crash sites completely before you start mining. It’s way easier when you’re not fighting off crabs. Keep an eye on your shards so you don’t lose them to lava. And when you’re crafting, make things you’ll actually use so it doesn’t feel like a chore.
